


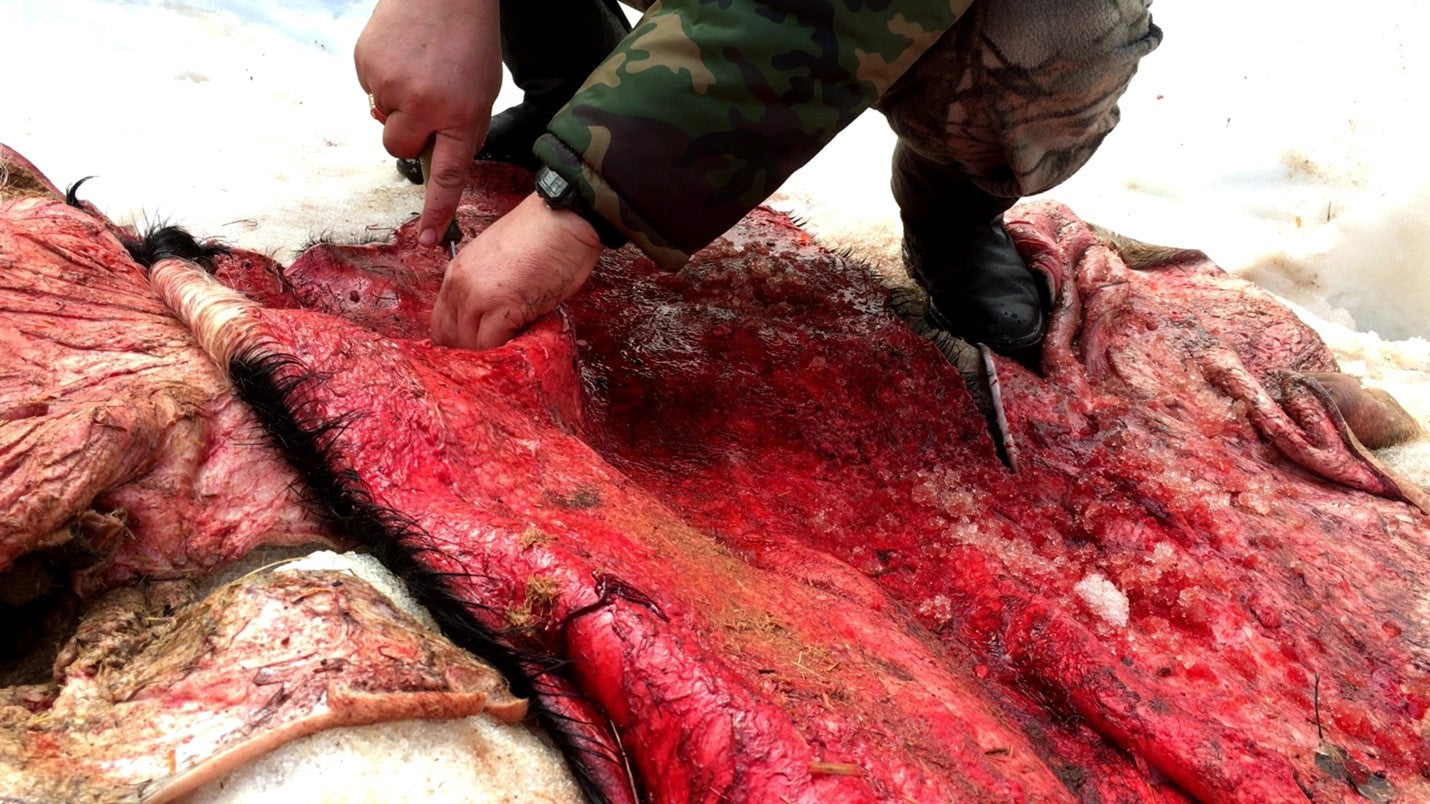
Fleshing
The first step in tanning hides from deer starts with the hide itself, of course. If your deer hide is being stored in the freezer, you will want to make sure that it is thawed completely before proceeding. Ultimately, the best way to tan a hide is carefully.
Hang the deer hide flesh side up over a hard surface such as a large plastic drum or tack it to a piece of plywood. Use a pressure washer to peel the flesh back. Make sure to wear safety glasses and move across the hide quickly to avoid creating a hole in the hide.
Ensure that the flesh side is clean and white before continuing to the next step. Use a sharp knife to remove any small bits of flesh before moving forward.
Salting
For this next step in tanning deer hide, pour a few pounds of table salt over the flesh side of the hide until it is completely covered. Fold the flesh side together, roll up the hide and put it in a five-gallon bucket. Leave it in the bucket for 24 hours.
After 24 hours, take out the hide, shake it off and reapply another round of salt. Fold it together again, place it in the bucket and let it sit for another 24 hours.
Salt Bath
Mix a salt bath in a five-gallon bucket using 0.5 pounds of salt per gallon of water. Once the salt is dissolved and the water is cool, immerse the hide in the salt bath for six to eight hours.
Washing the Hide
Wash the deer hide with water and dish soap to remove all of the salt and grease from the hide. Rinse the hide with a hose, then hang it to drip dry until it is just slightly damp.
Apply Hide Tanning Formula
Place a bottle of hide tanning formula in a pot of hot water for 30 minutes. Wear gloves when applying the formula to avoid getting any on your skin.
Lay the hide down, flesh side up, and apply the formula in small amounts. Use the gloves you’re wearing or a paint brush to spread it around. Once it's completely covered, fold the flesh sides together, leave it for 12 hours. Next, open it to let it continue drying.
It is recommended to complete this step in a basement or garage. There is a strong odor associated with the tanning formula that you will not want to fill up any regular living area of your home.
Hide Stretching
It will take at least two to three days for the deer hide to dry completely. During this time, you’ll want to work the hide while it is still damp and pliable. If you skip this step, your deer hide will be stiff as a board when it’s finished.
Stretch and fold the deer hide in all directions. Pull the hide back and forth over a taut rope or hard surface like a concrete pad.
When the hide is completely dry, sand it with coarse-grit sandpaper on the tanned flesh side. Trim up the edges and find a place to hang your freshly tanned deer hide. It should be all set for display.
You can simply follow these steps for the best way to tan hides, or purchase one of our deer hide tanning kits from Huntsmart.com. The kits come included with everything you need. Some even include a softening oil and degreaser in addition to the tanning solution.
Follow these steps along with the kit directions for the best-looking deer hide in town.